Easy Red Velvet Cake Balls With White Chocolate
Craving a quick treat that looks like you spent all day on it?
These Red Velvet Cake Balls deliver the richest cake mix flavor with barely any effort.
The baked red velvet cake blends beautifully with cream cheese frosting, turning into a soft, velvety dough that rolls into perfect truffle balls.

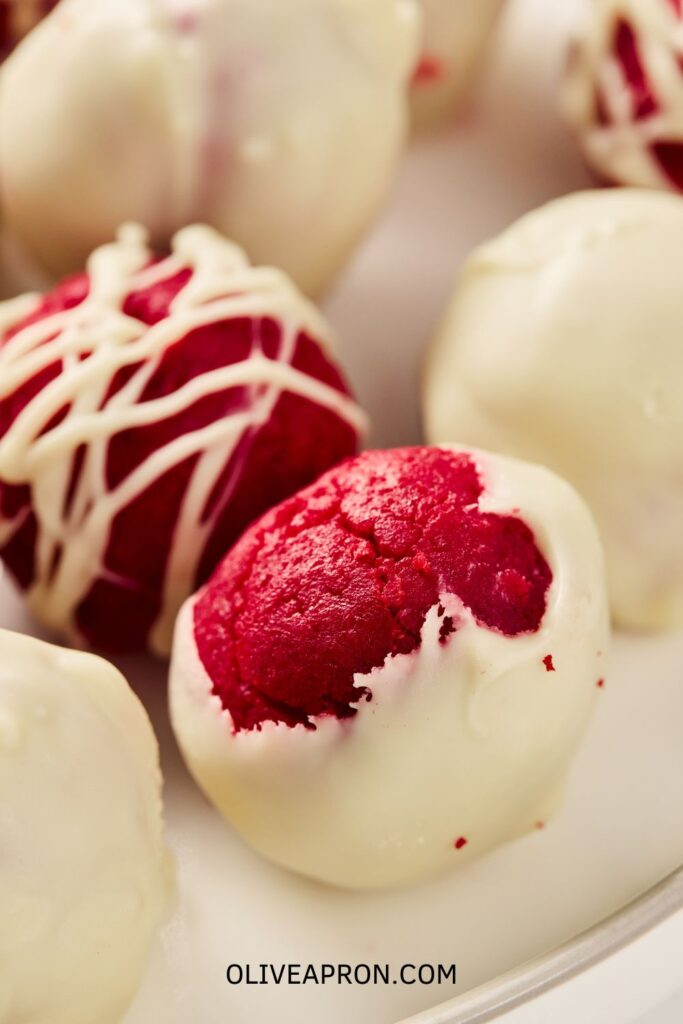
Dip each one in smooth white chocolate, and you suddenly have bite-size red velvet truffles that look fancy but are unbelievably simple to make.
If easy and delicious is your style, this recipe will be right at home in your kitchen.
Delicious Red Velvet Cake Truffles
These red velvet balls are rich and moist, combining the classic flavors of red velvet cake with creamy frosting.
The recipe yields about 24 truffles, making it a great choice for parties or as a sweet gift.
Ingredients
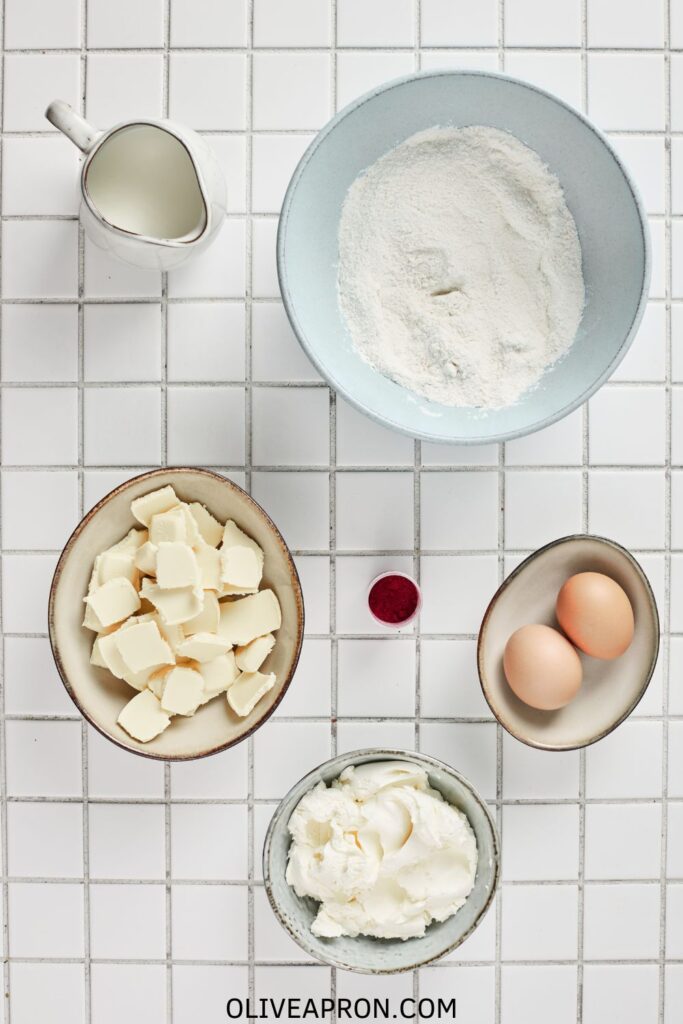
- 1 box red velvet cake mix (plus eggs and milk according to package instructions)
- 1/2 cup cream cheese frosting (store-bought or homemade)
- 300 g (10 oz) white chocolate or white candy melts (for coating)
- Red candy melts or colored white chocolate (for drizzle)
- Heart sprinkles (optional, for decoration)
Instructions
1. Bake the Cake:
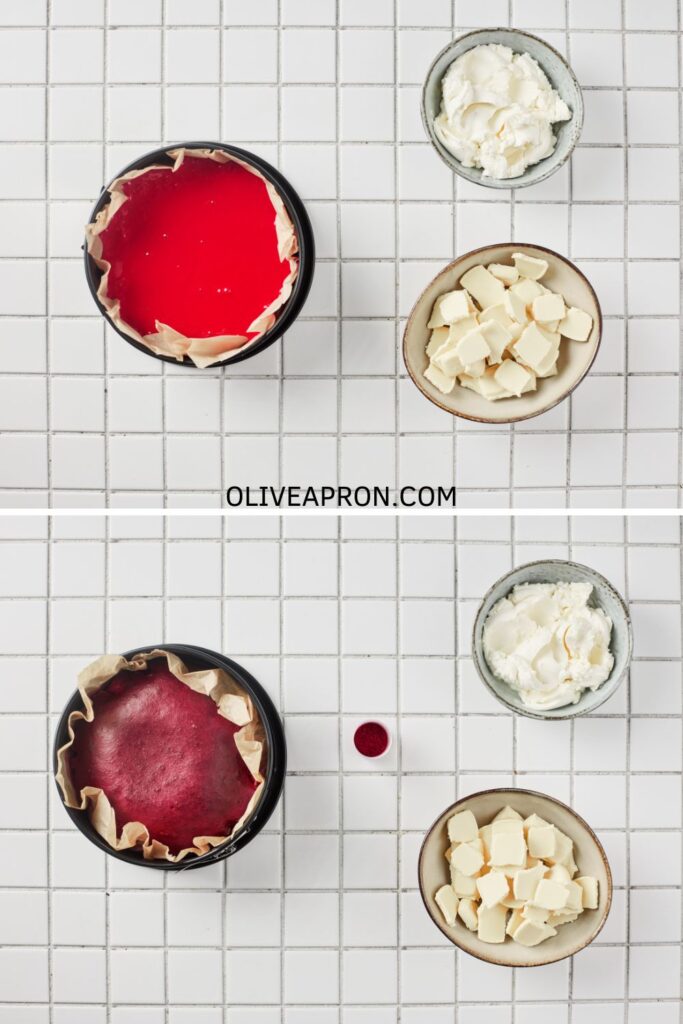
- Follow the instructions on the red velvet cake mix to prepare and bake the cake.
- Allow it to cool fully before moving to the next step.
2. Crumble the Cake:
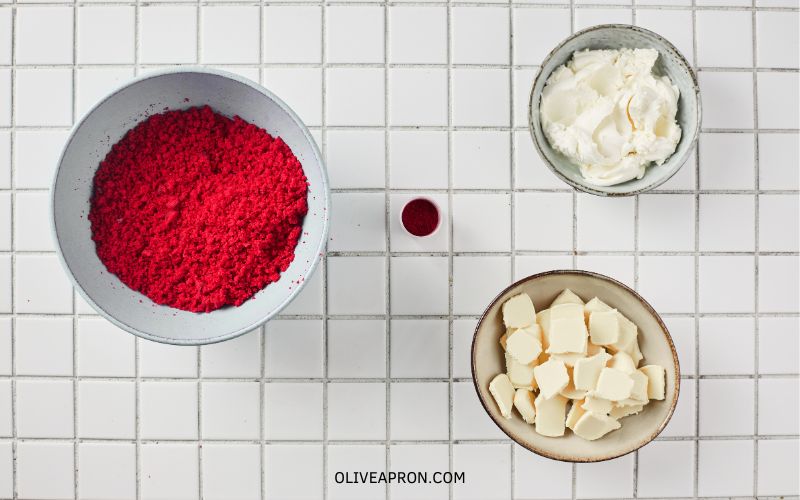
- Once cooled, break the cake apart in a large bowl with your fingers or a fork until you have fine crumbs.
3. Mix with Frosting:
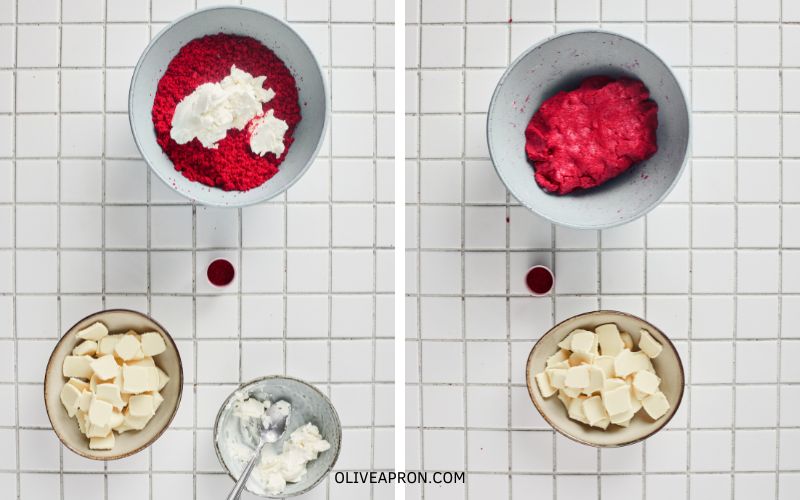
- Add cream cheese frosting to the crumbs and mix well until the mixture forms a dough-like consistency that holds together easily.
4. Form the Truffles:
- Scoop small portions (about 1 inch) and roll them into smooth balls.
- Arrange on a parchment-lined tray and freeze for 20–30 minutes to firm up.
5. Melt the Chocolate, Dip and Decorate:
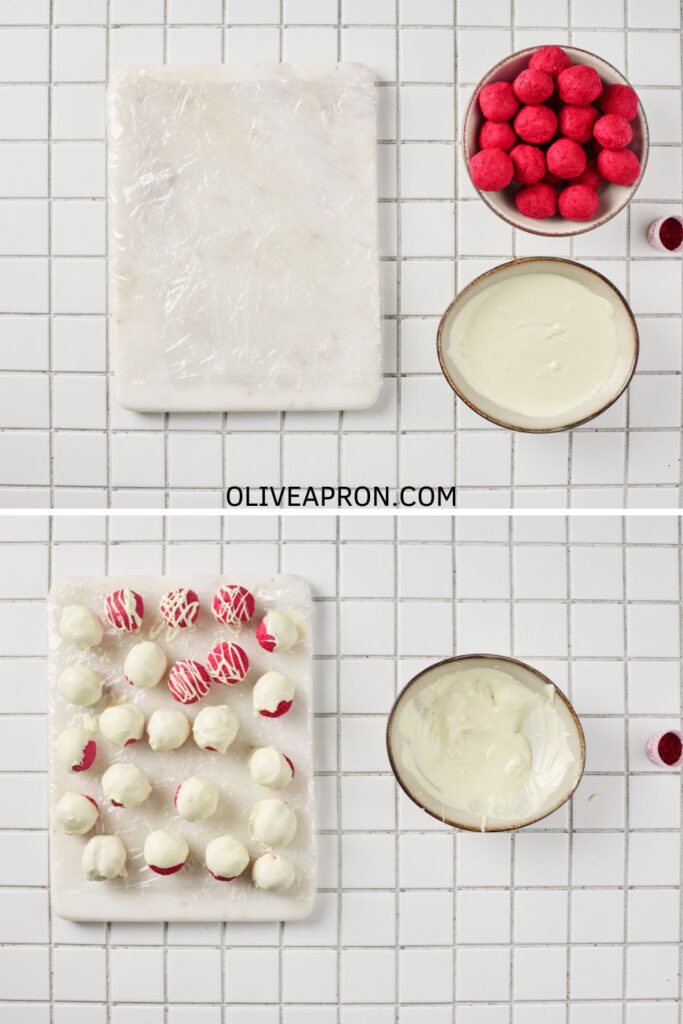
- Melt white chocolate or candy melts in the microwave in short intervals, stirring until smooth.
- Dip each ball into the melted coating and set them back on the tray to dry.
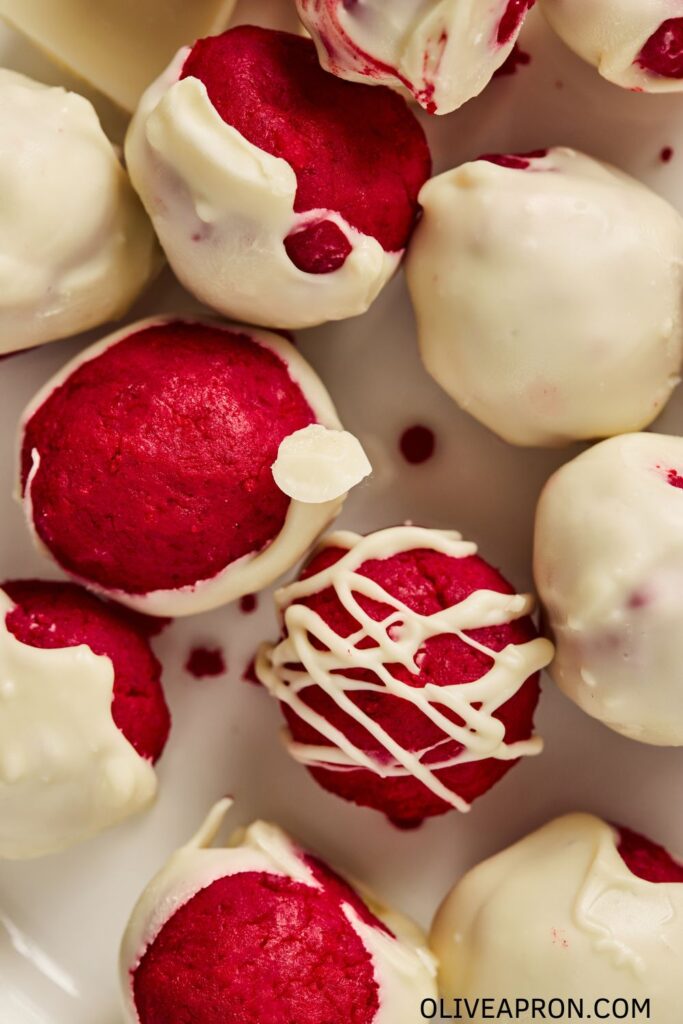
- Drizzle melted red candy melts over the coated truffles.
- Add sprinkles before the coating sets (optional).
6. Chill, serve, and store:
- Refrigerate for about 20 minutes until fully set.
- Serve and keep the remaining truffles (if any!) in an airtight container in the fridge for up to 5 days.

I hope you enjoy the velvety truffles as much as we do!
Cook and Prep Times
- Prep Time: 20 minutes
- Cook Time: 30 minutes
- Chill Time: 30 minutes
- Total Time: 1 hour 20 minutes
Irresistible Treats and Desserts:
- Oreo Cheesecake Recipe (No Bake) – A creamy, indulgent option for anyone who loves rich, chilled desserts.
- Easy No-Bake Strawberry Cheesecake – Adds a fruity, refreshing balance to rich truffle treats.
- 3-Ingredient Peanut Butter Cookies – Perfect when you want a super quick homemade cookie.
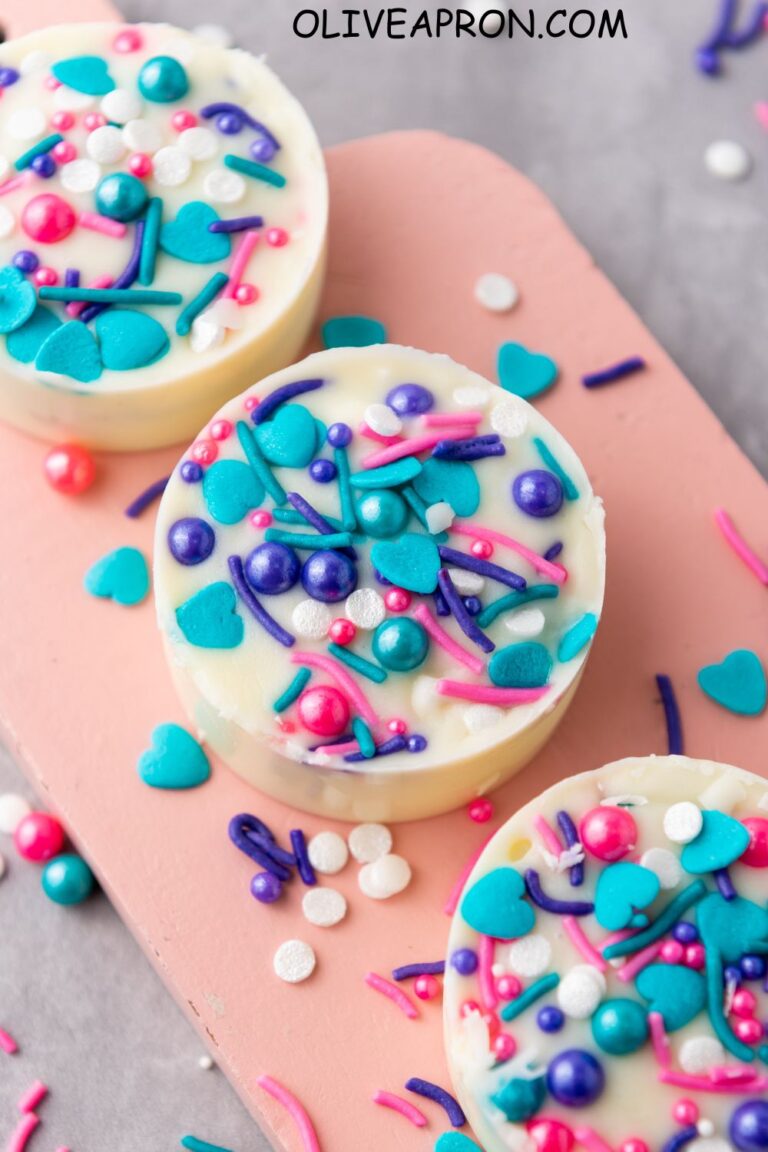
- Super Easy Chocolate Covered Oreos – Great for gifting or adding a fun treat to your dessert board.
- Chocolate Chips M&M Cookies – Colourful and perfect for parties or easy weekend baking.
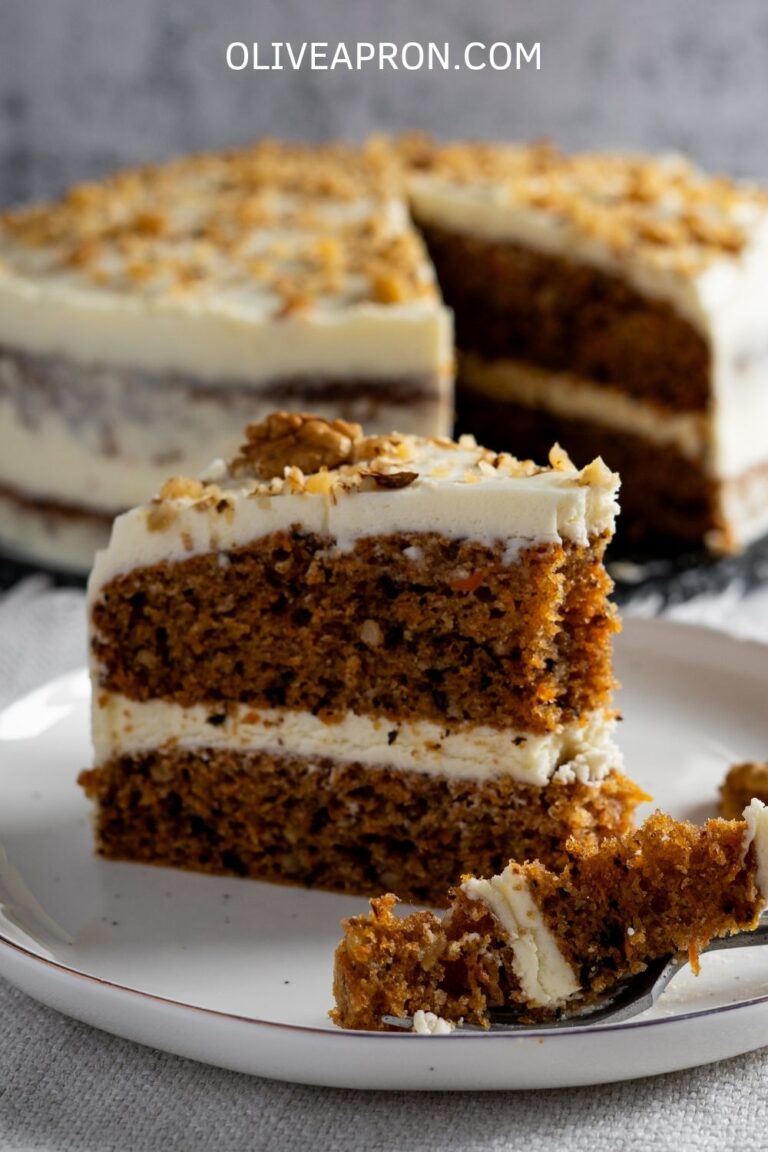
- Classic Moist Carrot Cake Recipe – A soft, flavour-packed cake that complements any dessert spread.
- Blueberry Pancakes – An easy, comforting breakfast option that adds a fruity touch to your recipe collection.

Tips for Perfect Truffles
- Chill the dough briefly before rolling so the balls hold their shape better.
- Add a little more cream cheese frosting if the mixture feels too dry and crumbly.
- Tap off excess white chocolate after dipping to avoid messy puddles underneath.
- Use two forks for dipping so each truffle stays neat and evenly coated.
- Let the coated treats sit on parchment so they stay smooth and don’t stick.
Alternative Coatings or Toppings
- Dip the truffles in dark, milk, or ruby chocolate for different flavour profiles.
- Roll the finished balls in red velvet crumbs for a soft, bakery-style finish.
- Add crushed freeze-dried berries for a pop of colour and flavour.
- Sprinkle with finely chopped nuts for a little crunch.
- Drizzle contrasting melted chocolate to give the treats a decorated look.
- Use festive sprinkles or sanding sugar to match the season.
- Top each truffle with candy hearts for a cute Valentine-style touch.
- Top with crushed candy canes or snowflake sprinkles for a Christmas touch.
Occasion Ideas
- Serve them on a holiday dessert tray for Christmas.
- Make a batch for Valentine’s Day with pink drizzle or candy hearts.
- Add them to a birthday party sweet table for an easy bite-sized treat.
- Wrap them in clear bags with ribbon for homemade gifts.
- Bring them to potlucks or family gatherings as a quick crowd-pleasing dessert.
- Use them as a cute addition to baby showers or bridal showers.

Red Velvet Cake Balls
Ingredients
Method
- Bake: Bake the red velvet cake according to package instructions and let cool completely.
- Crumble: Crumble the cooled cake into fine crumbs.
- Mix: Add cream cheese frosting and mix until the mixture holds together.
- Shape: Roll into 1-inch balls, place on a lined tray, and freeze until firm.
- Coat: Melt white chocolate or candy melts and dip each truffle to coat.
- Decorate: Drizzle with red candy melts and add sprinkles while wet.
- Set: Let set until firm, then store in an airtight container in the fridge.
Notes
-
Cool the cake completely before crumbling:
A warm cake will make the mixture greasy and difficult to shape. -
Add frosting gradually:
Use just enough frosting so the crumbs hold together without becoming too soft. -
Let the coating set before storing:
Allow the chocolate coating to fully harden so the truffles keep their shape and finish.